
How to tie the Grinner Knot in 9 easy steps

Step 1
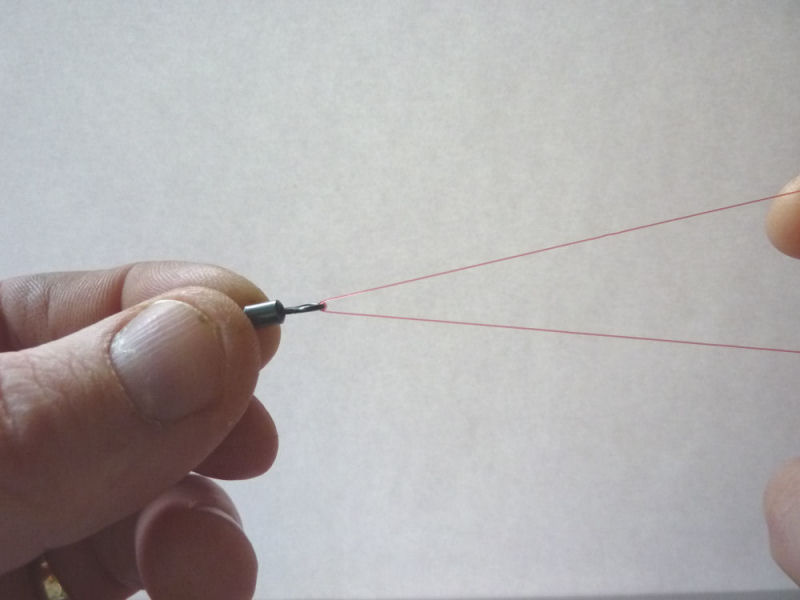
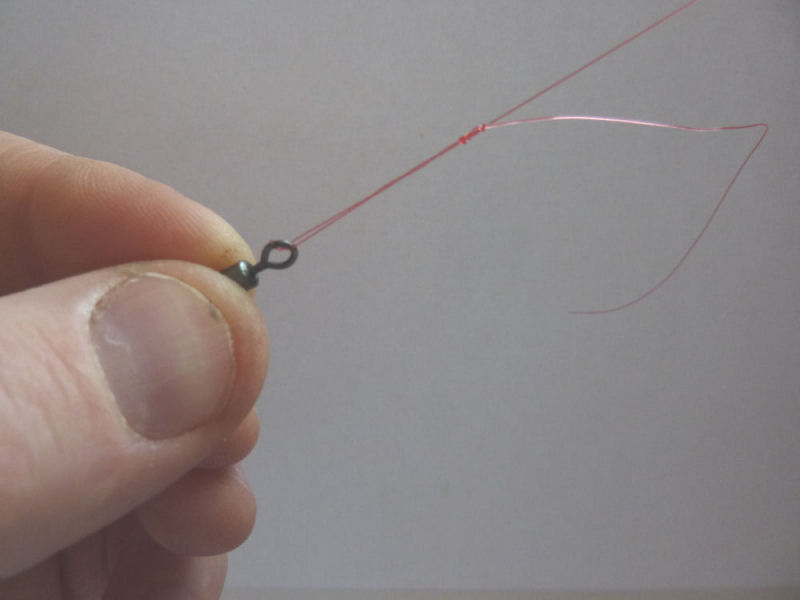
With the mainline threaded through the hoops of the rod pass the line through the eye of the swivel onceStep 2:
With the line already through the eye once pass the line through a second time and pull gently to tighten against the eyeStep 3:
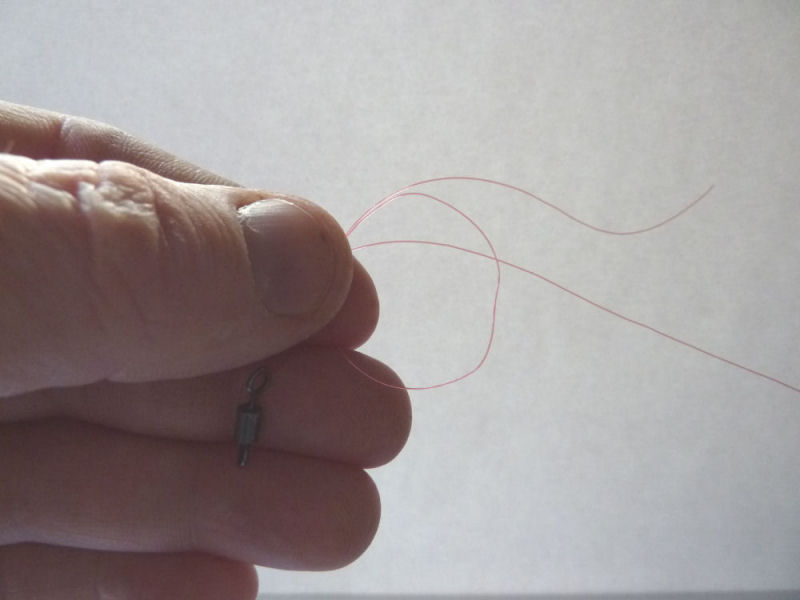
Form a loop using the tag end of the line and hold against the mainline, the picture makes it look easy but it's not due to the thin line not being rigid.with practise the loop will become easier to form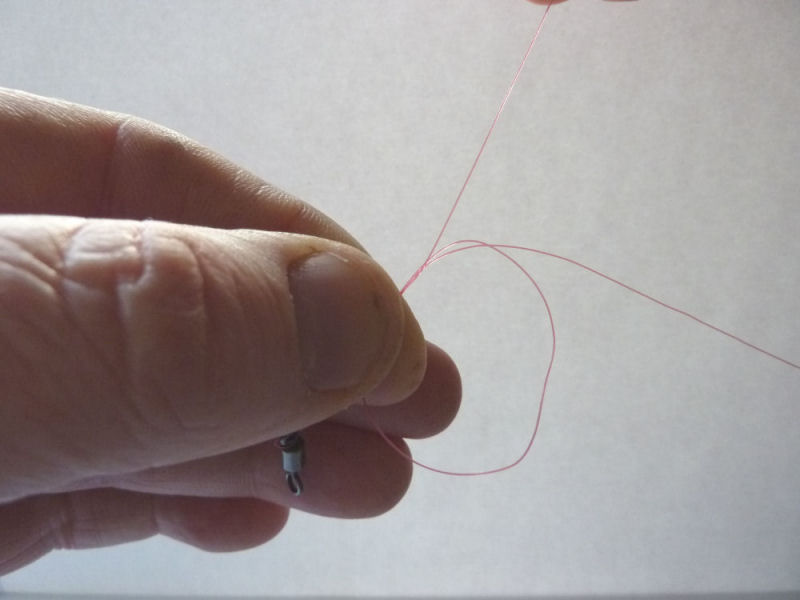
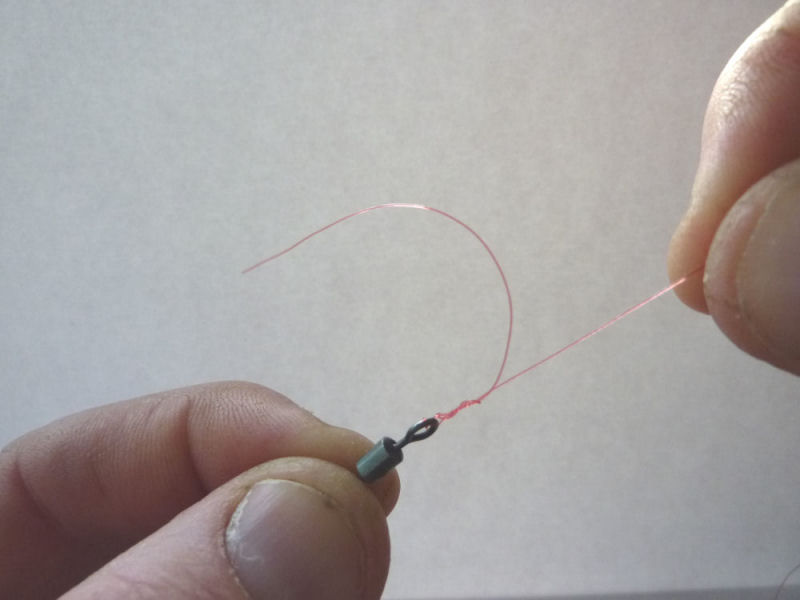
Step 4:
The tag end of the line should now be passed around the mainline and through the loopStep 5:
Repeat the passing of the tag end over the mainline and through the loop another four times(5 times in total)Step 6:
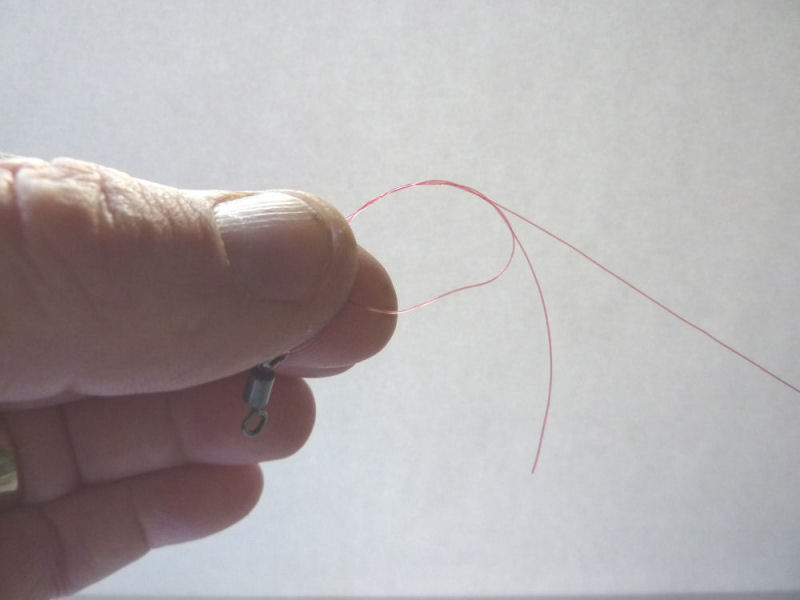
Holding the mainline gently pull the line and push the knot towards the swivel at the same time, if you try to tie the knot with the loop too far away from the swivel you will end up with crinkled line once tightened With steps 1 to 6 carried out, lets move onto steps 7 to 9
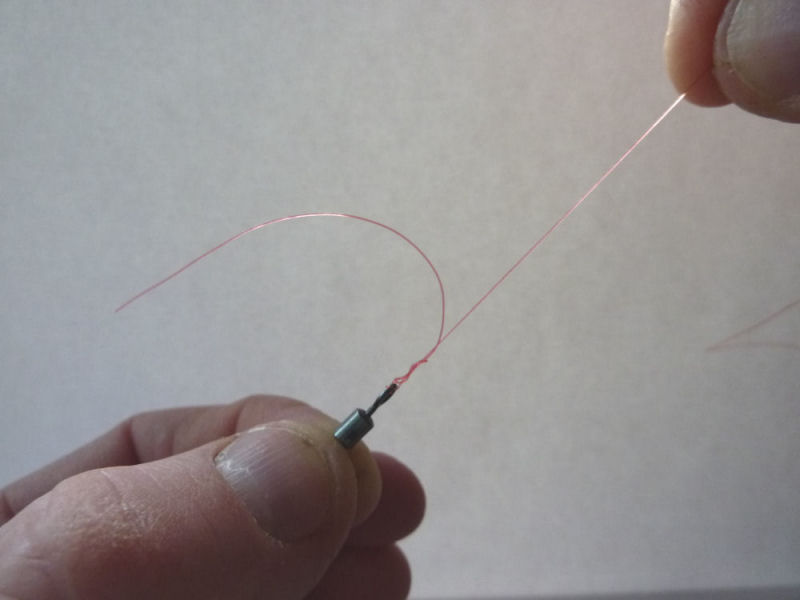
Step 7:
Ensure that the line is positioned correctly at the swivel eye ( not trapped) and continue to pull the lineStep 8:
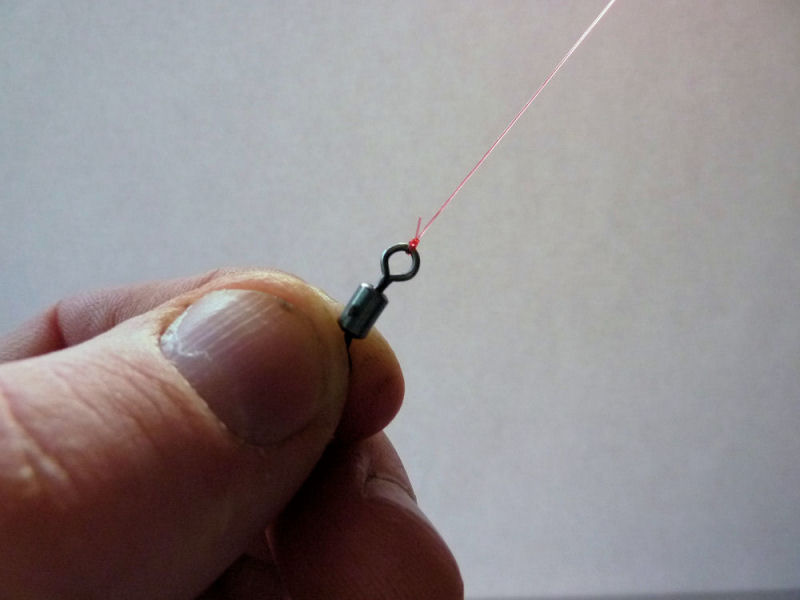
before final tightening of the knot wet with saliva & pull tight, trim the knot to suitStep 9:
The final knot should look like this when trimmed
The Grinner Knot is a great knot for tying eyed hooks & swivels.It's a reliable knot & does not lose much of it's strength.It does take practise to master & it's a lot easier to tie in a warm cosy room than on a windy/rainy bankside with your hands wet & rain pouring down around you
The hardest part I find difficult when tying the grinner is the forming of the loop.Line that has come off the reel does not want to remain circular and has a mind of it's own, I tend to hold the loop between my thumb & index finger to keep the loop open and then thread the line around the mainline and through the loop.
The hardest part I find difficult when tying the grinner is the forming of the loop.Line that has come off the reel does not want to remain circular and has a mind of it's own, I tend to hold the loop between my thumb & index finger to keep the loop open and then thread the line around the mainline and through the loop.